

Hey there! As a supplier of tile protective film, I've seen firsthand how crucial it is to ensure a smooth installation. Whether you're a professional installer or a DIY enthusiast, getting the job done right not only saves time and money but also ensures that your tiles are well - protected. In this blog, I'm going to share some tips on how to achieve a seamless tile protective film installation.
Preparation is Key
Before you even start the installation process, you need to get everything ready.
First of all, clean the tile surface thoroughly. Any dirt, dust, or debris on the tiles can cause the protective film to bubble or not adhere properly. Use a mild detergent and a soft cloth to wipe down the tiles. Rinse the tiles well and let them dry completely. This might sound like a hassle, but trust me, it's worth it. A clean surface is the foundation for a successful installation.
Next, measure the tiles accurately. You don't want to end up with a film that is too small or too large. Use a measuring tape to get the exact dimensions of each tile. Write down the measurements neatly so you don't forget them. If you're dealing with a large area of tiles, it might be a good idea to create a layout plan to map out which film pieces will go where.
Also, gather all the necessary tools. You'll need a sharp utility knife to cut the film, a squeegee to remove air bubbles, and possibly a roller for a more secure application. Make sure these tools are in good condition. A dull knife will make cutting the film difficult, and a dirty squeegee might leave marks on the film.
Choosing the Right Tile Protective Film
We offer a wide range of tile protective films, each with its own set of features. One of our popular options is the Durable Tile Surface Protection Film. This film is designed to withstand heavy foot traffic and various environmental conditions. It provides long - lasting protection for your tiles.
If you're looking for something more budget - friendly and still effective, our Blue Plastic Floor Tile Protection Film is a great choice. It's easy to install and can protect your tiles from scratches and stains during construction or renovation projects.

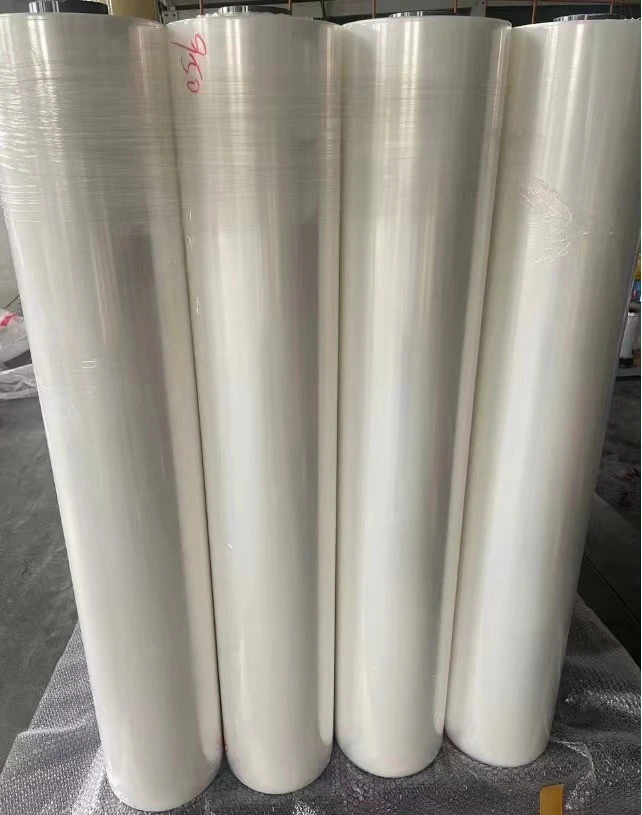
For those who need extra durability, our Durable Tile Protective Film is the way to go. It has a strong adhesive that ensures a tight fit on the tiles and can resist wear and tear over time.
The Installation Process
Now let's get into the actual installation.
Lay out the film on a clean, flat surface and cut it to the appropriate size based on your measurements. Be careful when cutting, and make straight cuts as much as possible. If you cut the film too small, you won't be able to cover the entire tile, and if it's too large, you'll have to deal with excess film that can bunch up.
Peel a small corner of the film's backing paper. Slowly start to apply the exposed part of the film to one corner of the tile. Make sure to align it properly with the edges of the tile. Once the corner is in place, use your squeegee to gently press the film onto the tile, moving from the corner towards the center. This will help to remove any air bubbles that might get trapped under the film.
As you continue to apply the film, keep peeling off the backing paper little by little. Work in small sections to ensure better control. If you encounter air bubbles, don't panic. You can use the squeegee to push them towards the edge of the tile and out. If there are stubborn bubbles, you can use a pin to prick them and then smooth the film over the hole.
For larger tiles or areas, it's a good idea to use a roller. After applying the film with the squeegee, roll over the film with the roller to make sure it adheres firmly to the tile. Apply even pressure as you roll to avoid creating uneven spots.
Dealing with Corners and Edges
Corners and edges are often the trickiest parts of the installation. When you reach a corner, cut the film at a 45 - degree angle to create a clean, sharp corner. Make sure the cut is precise so that the film fits snugly around the corner.
For edges, you can use a utility knife to trim the excess film. Be careful not to scratch the tile while trimming. After trimming, use the squeegee or roller to press the film firmly against the edge to ensure a good seal.
Post - Installation Checks
Once you've installed the tile protective film on all the tiles, take a step back and do a final check. Look for any air bubbles that you might have missed, loose edges, or areas where the film isn't sticking properly. If you find any issues, fix them right away.
If you notice any areas where the film has lifted, you can use a small amount of adhesives (if recommended for your specific film) to re - attach it. Just make sure to follow the manufacturer's instructions when using additional adhesives.
Tips for a Longer - Lasting Installation
To make the tile protective film last as long as possible, there are a few things you can do. Avoid using harsh chemicals on the film. These chemicals can damage the film and reduce its protective properties. Instead, use a mild cleaner if you need to clean the film.
Also, be careful when moving heavy objects on the protected tiles. Even though the film is designed to protect the tiles, excessive force can still cause the film to tear or lift. If you need to move heavy items, use a protective mat or a piece of cardboard under the object to distribute the weight evenly.
In conclusion, a smooth installation of tile protective film requires proper preparation, the right choice of film, careful installation techniques, and post - installation maintenance. By following these tips, you can ensure that your tiles are well - protected and that the installation process goes without a hitch.
If you're interested in purchasing our high - quality tile protective films or have any questions about the installation process, feel free to reach out. We're here to assist you with all your tile protection needs.
References
- General knowledge from years of experience in the tile protective film industry.
- Product specifications and guidelines provided by the manufacturers of our tile protective films.